The Basics of Amending Your Soil
Last week I posted on the different types of soil…and how clay-heavy soils and sand-heavy soils provide less than ideal growing conditions for your plants. And unfortunately most of us are dealing with one end of that soil spectrum or the other…which requires us to do more than just throw our plants into the ground. Instead we must “amend” our soil to make it “loamy” (rich soil made up of a mixture of clay, sand, and organic matter that is ideal for growing plants). Although a fancy gardening phrase, “amending your soil” is really not that complicated…all you’re really doing is adding and mixing in organic material and potentially other amendments that your native soil lacks.
 These amendments help provide your plants with the physical environment needed to…retain water while offering appropriate drainage; allow your plants’ roots to penetrate through the soil; and provide structure and air flow. All this to simply help your plants’ roots better absorb water and nutrients. That’s it…simple.
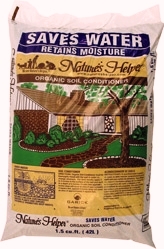
Most of us can get by with using Nature’s Helper or another similar organic soil amendment. However, if you’re dealing with an extreme case or if you’re really intent on showing your plants some love…consider the following:
- If you have sandy soil you need to increase its ability to retain water and nutrients. This can be done by using organic material that’s well decomposed…such as composts, aged manures, and peat.
- If you have clayey soil (that’s me!), you need to improve aeration and drainage and increase porosity and permeability…I know, a few more fancy gardener terms. You can do this by using amendments like straw, wood chips, tree bark, or peat.
So we’ve covered the why and the with what…here’s the how of amending your soil – which is really the easiest part:
- Dig a hole about twice the size of the pot your plant came in.
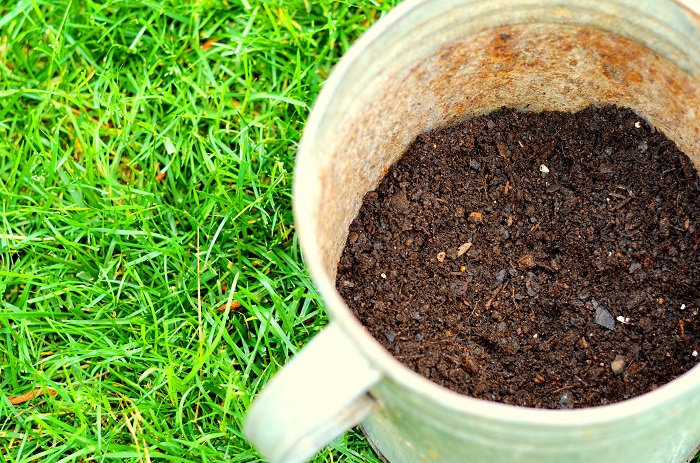
- Shovel some organic material into said hole – 1 part organic material to every 2 or 3 parts original soil.
- Drag the original soil back into the hole and mix it all together. Congratulations, you just amended your soil! It’s really that easy.
- Now all you need to do is make room for your plant by shoveling a good bit of the newly amended soil out of the hole…drop the plant in the hole (after loosening the roots a bet)…and backfill with the excess amended soil…pack it down and water. You’re done!
 Now…not only have you given your plant the home it needs to thrive, but the nutrients it needs as well…at least for the first year. Beyond that you’ll likely need to fertilize and possibly add a bit more organic material…but that’s for another post, so stay tuned. I hope this was helpful.
Take care and happy soil amending!

You may also enjoy these posts from RYG ...


If you're not already subscribed to RYG and want to get periodic updates, links to new posts & other ground redeeming info ... just enter your email address below. Easy as that!