How to Make a Lighted Christmas Star (or Card Holder)
Alright…so I’ve shown you how to make lighted Christmas balls using chicken wire and then with folding wire balls. Today I’m going to share how to make a lighted Christmas star. So if your kids are clamoring for you to add a little Christmas life outside…this project is super easy and really cheap. (And if you stick with me to the end of the post, I’ll show you how to use your star as a card holder instead.)
![]()
What You Need to Make A Lighted Christmas Star
-
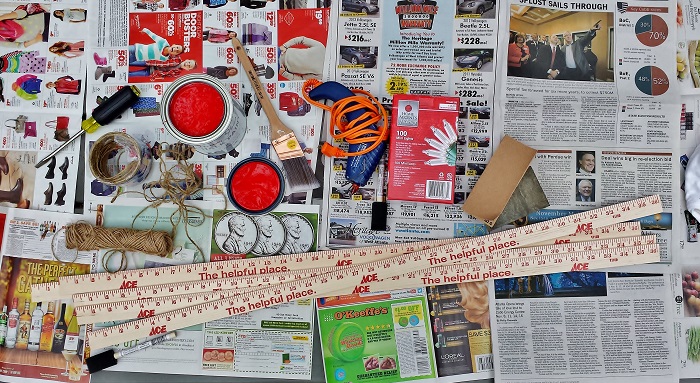
- 5 yard sticks per star (if you’re lucky, your local hardware or paint store will give them to you free…but if not, they’ll only cost you about $1 each)
- Paint
- Hot glue gun (or some other way to connect the yard sticks)
- 1 strand of outdoor mini-lights per star
- (If you want to use your star as a way to display your Christmas cards, instead of wrapping it with lights wrap it with some sort of twine. See below for more on this.)
How to Make a Lighted Christmas Star
The steps to make a lighted Christmas star are ridiculously easy.
1. Paint either flat side of your 5 yard sticks. We used Annie Sloan’s Chalk Paint…Emperor’s Silk.
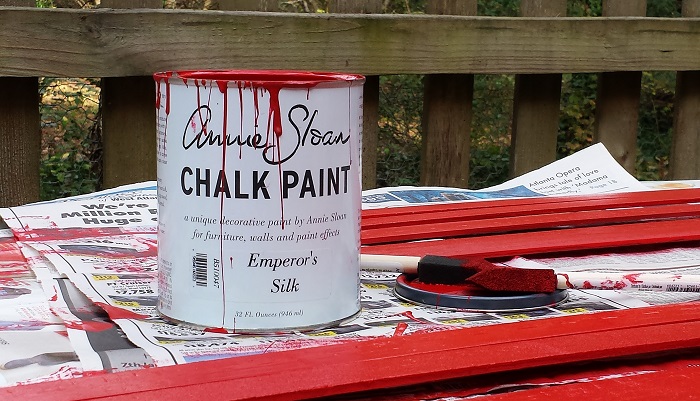
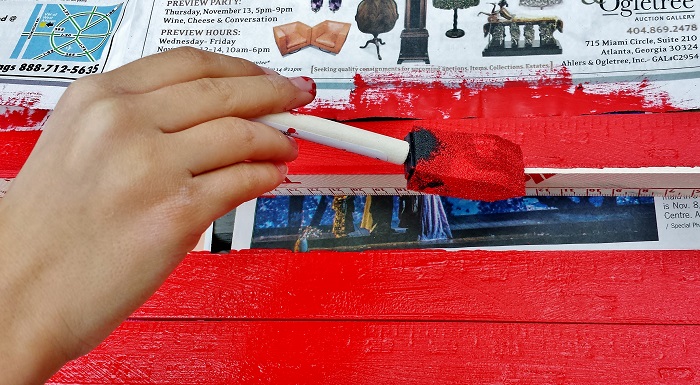
2. By the time you’re done doing that, things will be dry enough to paint all the edges…top, bottom, and ends.
3. Once the paint is dry, lay-out your 5 yard sticks in a star pattern…just as if you were drawing it out. Once in place, simply put a glob of hot glue at one of the intersections (I guess you could use wood glue or even brads, staples, or nails instead). Squeeze things together for just a few seconds and then move on to the next intersection until you’re done…making sure to get to all 5 ends and all 5 interior intersections. Let the glue dry…and you’re ready for the lights.
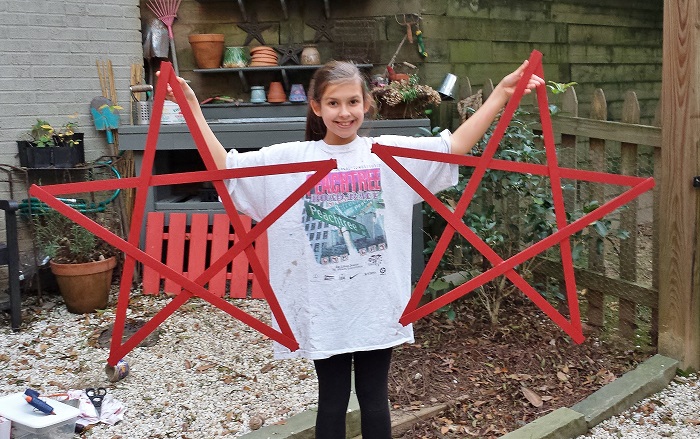
4. Starting at the end of one of the points, wrap your star with 1 strand of lights…just like you were drawing a star. This way you will start and stop your wrapping at the same point. If you find that you don’t have enough of your strand of lights to finish wrapping the star – or way too much, it’s so easy to do, simply start over…wrapping it a bit more tightly or loosely.
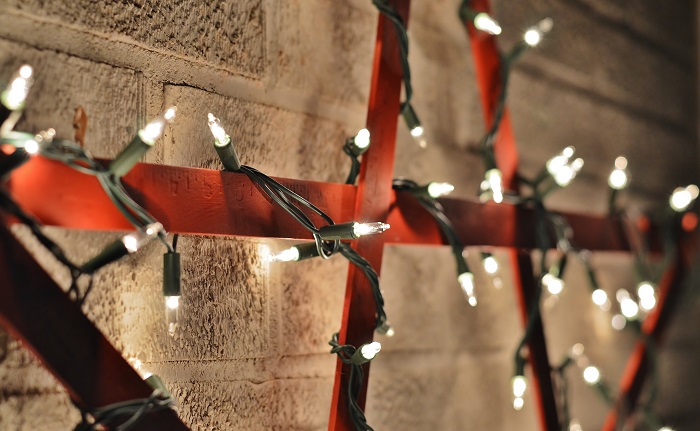
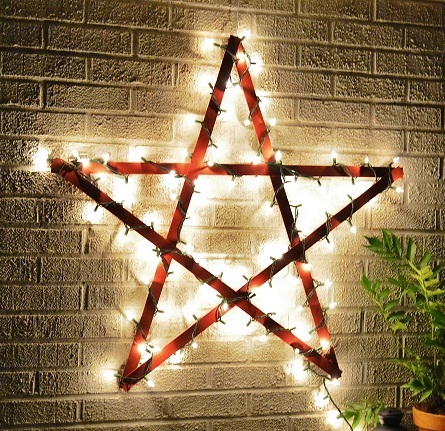 That’s it…you’re done. It really is an incredibly easy thing to make…and besides getting all your supplies and letting the paint dry…it really takes no time to do. And if you’re lucky enough to get the yard sticks for free, it costs less than $5; but if you had to pay for the yard sticks, less than $10.
This one simple, inexpensive outdoor Christmas decoration can stand all by itself or be added to whatever else you have going on.
How to Make a Star Card Holder
Now…if you’re looking for a new way to display your Christmas cards, you could use the same star that you’ve just made, but simply wrap it with some sort of twine. I used a tinsel cord that Britt had in her craft closet…something like this.
I tried various ways to wrap the star with twine, but found that if I did anything other than using the middle intersections and the ends of the star to change direction, that the twine would slide off to the narrow end of the star’s points.
The 2 tips I would suggest while wrapping your star with twine are: 1. make sure to keep the twine tight as you wrap; and 2. when at the points of the star, pull the twine tightly around one of the corners of the yard sticks to keep it in place.
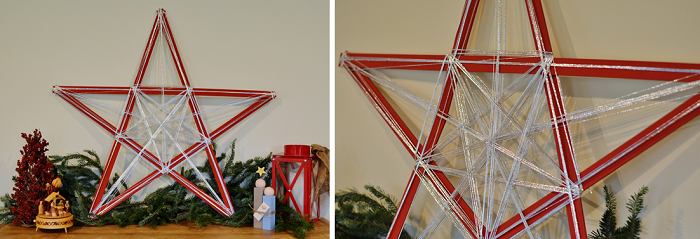 Although all the twine was eventually covered by the cards, I think the resulting pattern looks pretty cool…hearkening me back to my 8th grade geometry project using nails and string.
All that’s left now is feeding your cards in and out of the strings.
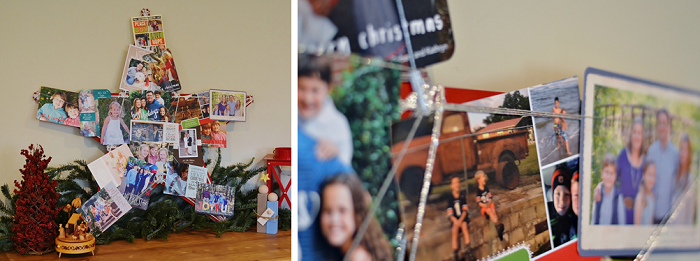
![]() Voila! Two easy and cheap ways to add some cheer around your home this Christmas. If you try one of these Christmas stars out, please let me know and send some pics.
Voila! Two easy and cheap ways to add some cheer around your home this Christmas. If you try one of these Christmas stars out, please let me know and send some pics.
Ho, ho, ho…and take care,

Affiliate Disclosure: RYG may earn a small commission from qualifying purchases when links take you to Amazon.com. Learn more…
You may also enjoy these posts from RYG ...
If you're not already subscribed to RYG and want to get periodic updates, links to new posts & other ground redeeming info ... just enter your email address below. Easy as that!



The stars look beautiful and so easy! I can’t wait to try it. I love our lighted Christmas balls we made from your previous post! They look so pretty hanging in our front yard. I want to do a few each year so our house looks like a winter wonderland. The stars will be a great addition. Thanks for all the great ideas.
So glad! I think we’re going to do the same thing…adding a couple each year. So far we have 8…I was on a roll this year. Take care Donna! – D.