How to Make a Holiday Chandelier
One of the things I love most about this time of year is how warm and inviting our house looks & feels once all of our decorations are up & on display. Yes, the lights add that special glow and each ornament has a story to tell; but I think it’s the layers of texture that the natural elements we use in our holiday décor that really bring that special warmth – like a welcomed Christmas hug.
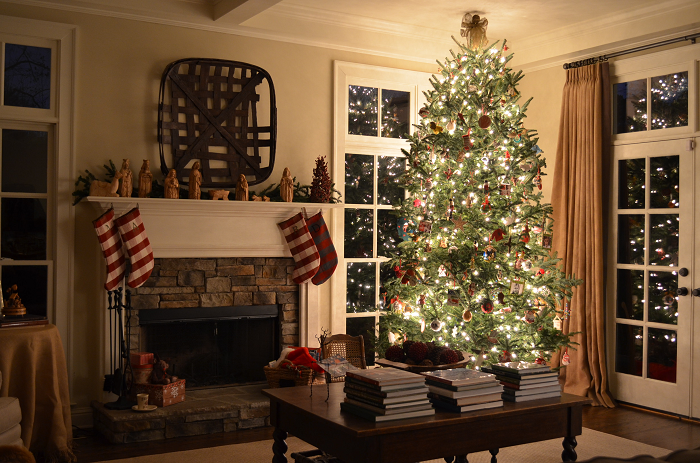
Scott Family Christmas!
Now, our decorating efforts have typically focused on our kitchen and den, but this year we brought greater cheer into the dining room by creating a Holiday chandelier. And I would say, from a bang-for-your-buck perspective it was well worth the effort. As you will see, it’s super-easy and because all the plant material came from our yard, it didn’t break the bank.
Materials to Make a Holiday Chandelier
The textured beauty of a Holiday chandelier is in the simplicity of the layers of draping evergreens. So you don’t need much to create your wintery masterpiece.
- Pruners and scissors (or wire cutters if you use a heavier gauge floral wire)
- Floral wire
- Plant material: All we used is juniper and holly You could use trimmings from your Christmas tree or make it even easier by using store-bought garland. But that costs money … so there’s that.
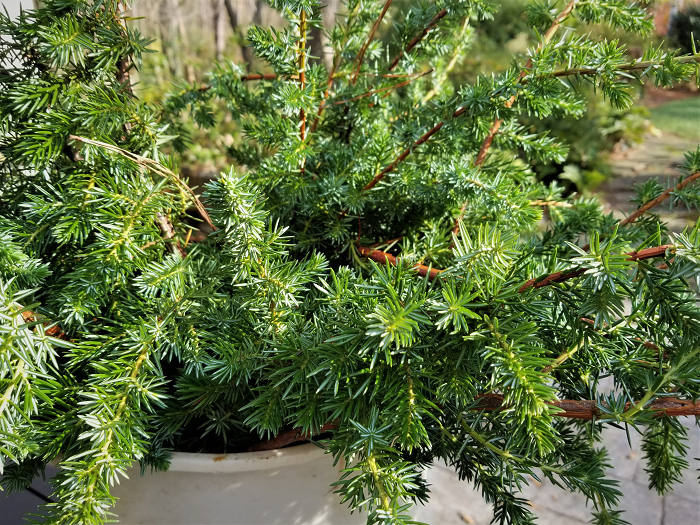
Truth be told, besides the functional value they provide in sloped areas, I’m not a huge fan of juniper. But for this project I’m oh-so-glad we have some!
- If you want to joosh up your chandelier even more, embellish it with pinecones, other plant material, ribbons, and even ornaments. And because no one will get close enough to notice, you can even tuck in some fake flowers & berries – I won’t tell anyone!
Instructions
Making a Holiday chandelier isn’t rocket science. All you do is place and tie down your evergreen cuttings … rinse & repeat … and then embellish until your heart’s content.
- Before you bring in your plant material, I’d recommend that you cover your table so that clean up is a heck of a lot easier. It can get a bit messy.
- Then, start out with your base of evergreens. We used the juniper that graces a slope in our front yard.
- Simply position the branches so that the leaves drape over the side, making sure to tuck the cut end of stems out of sight, as best you can.
- Attach your first run of evergreen branches to the chandelier with floral wire.
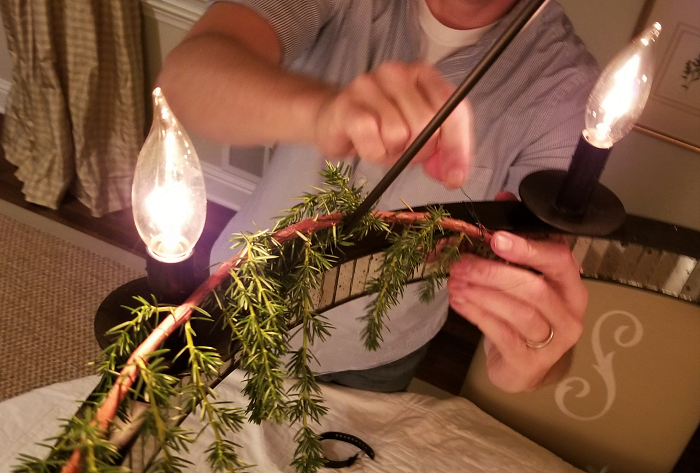
Twist the bows around the chandelier and then the floral wire around the boughs & chandelier. So easy!
- Don’t twist the wire too tight. You want it tight enough to hold your evergreens in place, but not so tight that you can’t wedge in additional plant material.
- Continue doing this around your chandelier, switching the direction that your branches hang along the way so that it looks more natural. Also, make sure to strategically cover the previous connection points.
- Step back to see where you need to fill in or manipulate things a bit.
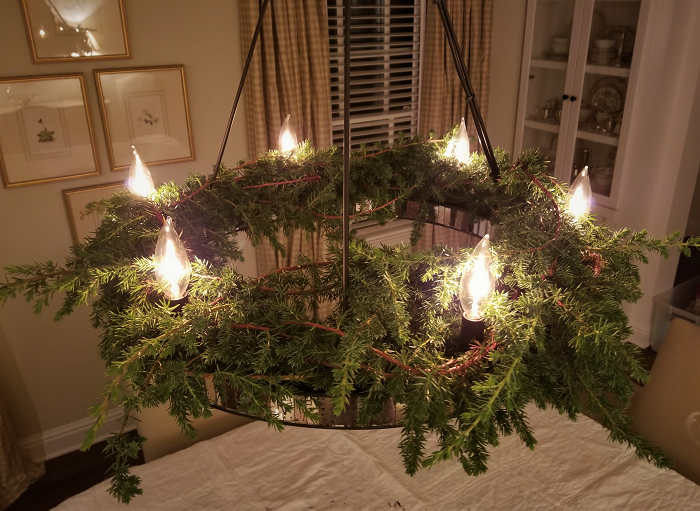
With just the evergreens cascading over our chandelier things are already starting feel warm & cozy.
- Once you’ve done that you’ll see that you could actually stop there – the draping layers of evergreens look great on their own. But keep going if you’d like.
- We simply added holly berries for pops of color to help our chandelier really sing … “Merry Christmas”!
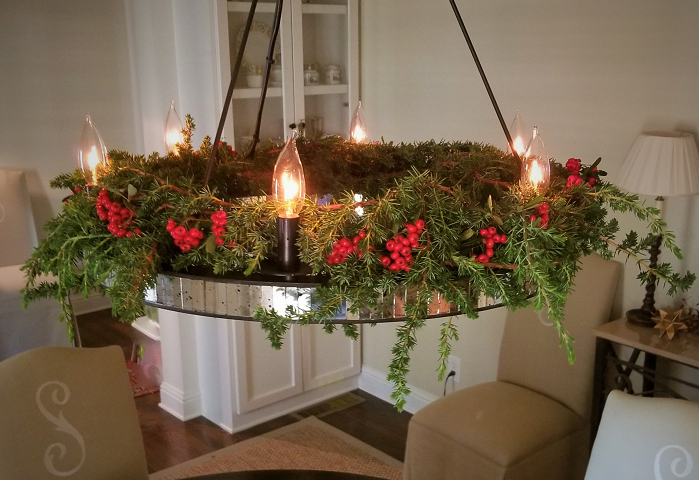
Holly berries add the perfect pop of Christmas cheer!
![]()
I hope that this post has shown you just how easy it is to create a Holiday chandelier – out of plant material that’s likely just outside your door. And if you do, I think you’ll find that it’s a great way to bring greater warmth, texture, and … dare I say … love to your home this Holiday season.
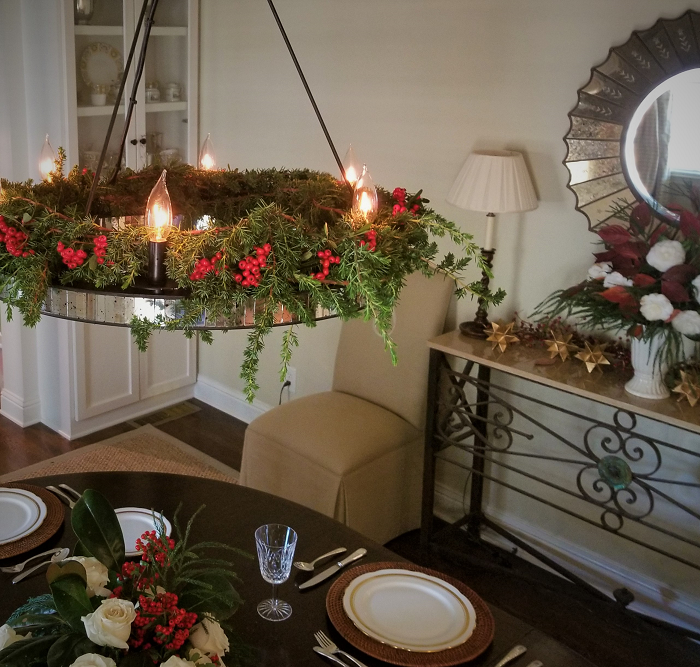
And now we’re ready for a Christmas Party!
Merry Christmas Friends,

![]()
We’re proud to be partnering with Monrovia … the plant company of all plant companies … on this Outdoors-In Holiday Décor series. And in case you didn’t know … for generations Monrovia has worked very hard to provide its customers with the healthiest and most beautiful plants to grace their homes and outdoor spaces. Regardless, all the thoughts and opinions shared on this post are ours.
You may also enjoy these posts from RYG ...
If you're not already subscribed to RYG and want to get periodic updates, links to new posts & other ground redeeming info ... just enter your email address below. Easy as that!







It looks beautiful!!! I am going to do that to my chandelier in the kitchen- Great idea- Thanks!