How to Make a Magnolia Leaf Centerpiece
One of my favorite trees that graces our yard is a massive Southern Magnolia. She stands over 100’ tall and speaks to both the history of the South and our home’s previous owners. And not only is she the perfect home for our girls’ treehouse, her branches and leaves are great to bring inside to create beautiful arrangements and other natural displays.
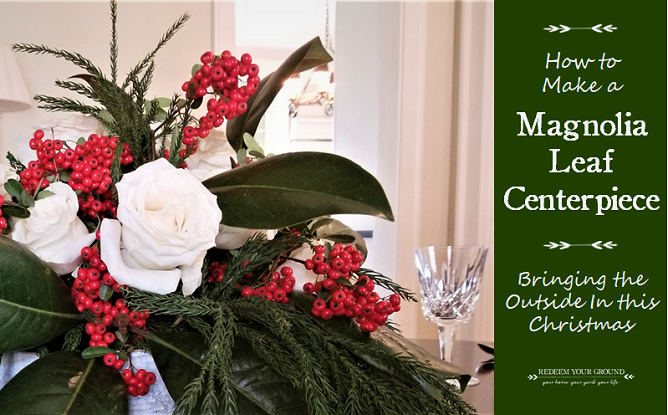
Today I’m going to show you how to make a simple, but show-stopping centerpiece. And if you’ve never made even the smallest of flower arrangements, have no fear. If you can stick a stick in the ground, you’ll be able to do this project. Seriously.
![]()
Materials You’ll Need to Create a Magnolia Leaf Centerpiece
Like all the other projects we’re sharing this week, you’ll need very few materials to create a gorgeous Magnolia leaf centerpiece.
-
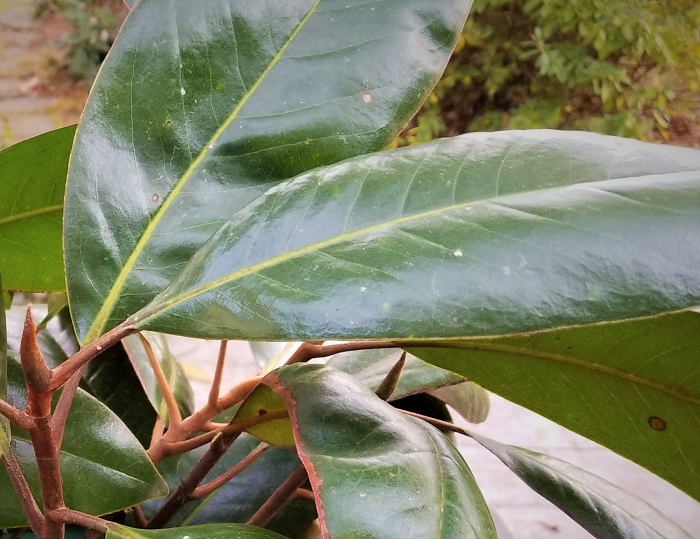
Love Magnolia leaves!
Pruners and something to cut the florist foam with (I used my pocket knife)
- Magnolia leaves
- Florist foam (wet, if you’re adding cut flowers)
- Container (waterproof, again, if you’re using cut flowers)
- Other plant material: dried flowers, twigs, cut flowers. We used holly berries, Cryptomeria, and white roses in our centerpiece. (Confession time…we cheated a bit and bought our roses at a local big box store – feel free to do the same.)
![]()
Instructions & Tips
As I said above, if you can stick a stick in the ground you’re good to go with this project. However, if you need more to go on, follow these simple tips and instructions:
- Cut your florist foam to size and place it in your container. The foam will help keep everything in place.
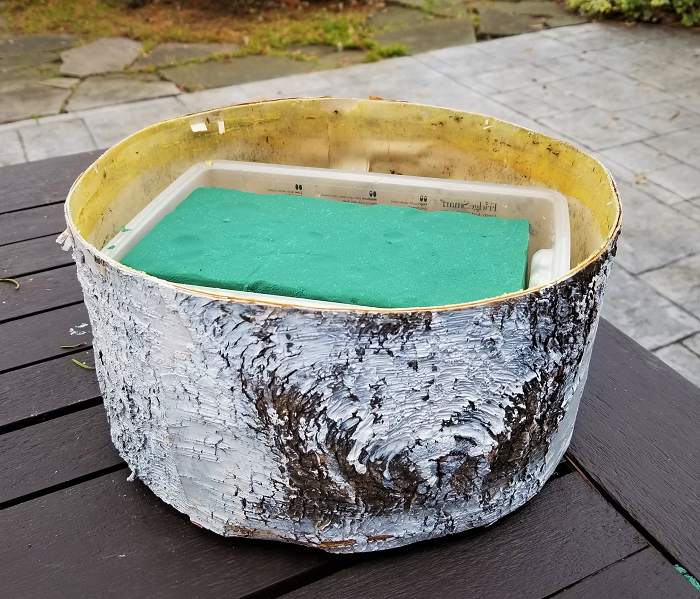
We placed our wet floral foam in a storage container…inside a more attractive container made of tree bark. Clearly, we’re taking this “outside-in” theme very seriously!
- If you plan on adding cut flowers to the mix, you’ll want to use wet floral foam and saturate it before you put it in a waterproof. (You could even use a plastic storage container that you drop into the more attractive container…that’s what we did.) To learn more about using floral foam, check out this link.
- Start by sticking the tallest Magnolia stems at the center of the floral foam. Then work out and around until you’ve created the shape and density of arrangement you’re going for.
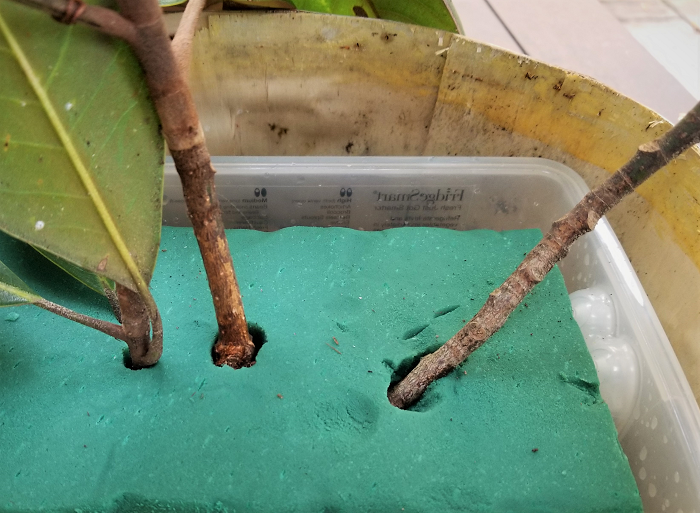
The wet floral foam will not only keep everything in place, but make sure all the plant material stays hydrated as well.
- Note, if your centerpiece is going to be placed at the back of a table that sits flush against the wall, place your tallest stems at the back and center of your container, and then work out and to the left and right.
- Step back and you’ll see that you could actually stop there. The Magnolia’s beautiful green and brown leaves are enough to call it a day. However, if you’d like to keep going, have at it!
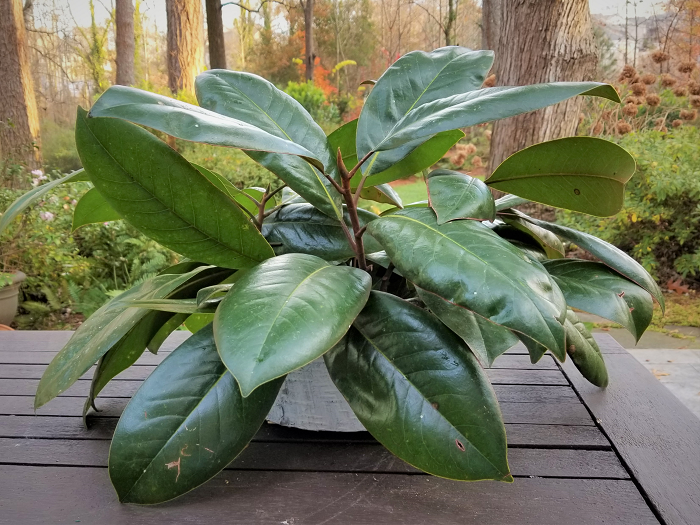
Stopping with just Magnolia leaves could be great as a simple centerpiece or even in lieu of a houseplant. Why not?
- When adding cut flowers, dried flowers, or even twigs make sure to step back every once and awhile to make sure you’re not going overboard or haven’t gotten lopsided with your arrangement.
- Like many DIY creations, there are no hard and fast rules – other than to have fun! So don’t be afraid to play around with your masterpiece – rearranging, adding more, editing out, cutting back…you’re in charge.
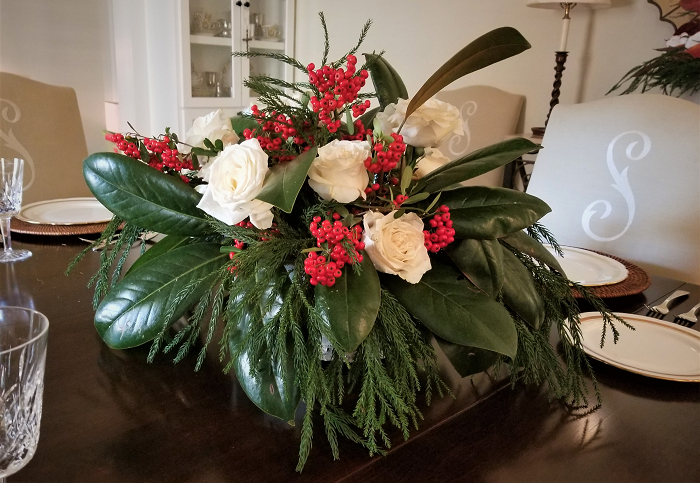
By just simply adding Cryptomeria cuttings, holly berries, and white roses we easily transformed the understated into the extravagant!
- A word of warning to those of you who used wet floral foam for your live flowers – you still need to treat this arrangement as you would any other and keep watering it. Yes, the foam keeps your flowers in place … but your living lovelies need to keep drinking.
- Sit back and enjoy!
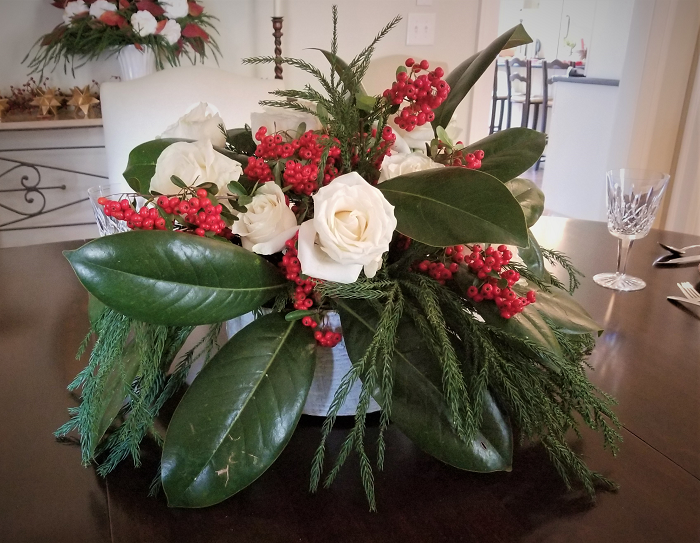
A centerpiece that really sings … “We wish you a Merry Christmas…and a Happy New Year!”
![]()
I told you it was easy! So stop thinking about it and get out there to gather what you need to make a beautiful Magnolia leaf centerpiece of your own! You’ll be glad you did and your family and friends will be oh-so impressed!
Take care,

![]()
We’re proud to be partnering with Monrovia … the plant company of all plant companies … on this Outdoors-In Holiday Décor series. And in case you didn’t know … for generations Monrovia has worked very hard to provide its customers with the healthiest and most beautiful plants to grace their homes and outdoor spaces. Regardless, all the thoughts and opinions shared on this post are ours.
You may also enjoy these posts from RYG ...
If you're not already subscribed to RYG and want to get periodic updates, links to new posts & other ground redeeming info ... just enter your email address below. Easy as that!


