How to Hang String Lights [Video with Exmark]
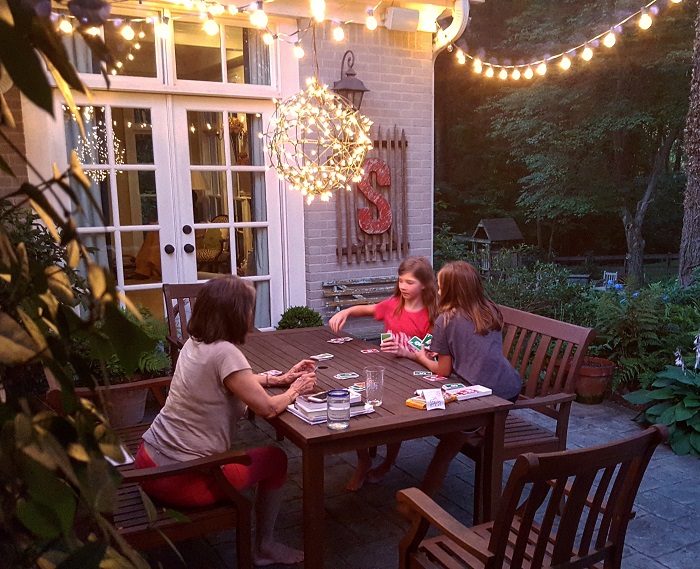
We’ve done a ton to our outdoor spaces to make them our own…but after all that we still couldn’t really enjoy them after the sun went down. That was until we added some string lights into the mix.
Now…dinners and game nights last a lot longer. I can keep working around the chicken coop with my feathered friends after dusk. And we can hang out and talk for as long as we want…well into the night. And it’s all because of a few strands of inexpensive string lights.
 Sure, we could turn on our flood lights…or install professional landscape lighting. But the former lacks all sorts of character and the latter just isn’t in the budget right now.
So if you’ve ever thought about adding string lights to your outdoor spaces, don’t think any longer. Just do it. It’s easy to do. And fairly inexpensive…depending on how many strands you need and the lights you choose. Besides, the longer you wait the more evenings you’ll miss enjoying your outdoor spaces!
![]()
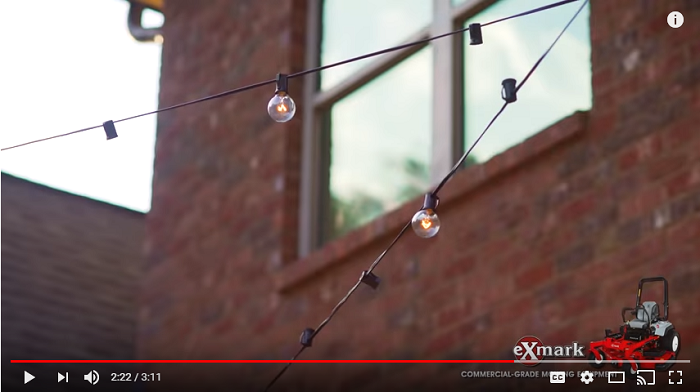
Let There Be Light – Exmark Video
Hanging string lights is really quite easy. But there are a few I learned that I’d like to pass on. But before I do that, if you’d rather see what I’m talking about vs. read about it…check out the video below that I did last year with Exmark — the lawn mower manufacturer of all lawn mower manufacturers (see below for more on Exmark).
Tips on How to Hang String Lights
Here are a few things that you might want to consider before jumpin’ on this DIY weekend project.
1. Do Some Research – Style & Lights
You’ll want to do a little research to determine what style you’re going for. And when I say research, all I mean is for you to search for pics of string lights on Pinterest or Houzz…taking notice of what grabs you about the images you like.
In general, the more informal, relaxed settings typically require more strands because you’ll probably have more swags…and those swags will probably hang a little lower. Whereas a cleaner, more formal look will likely have fewer swags and hang tighter; and therefore, require fewer strands.
Now…the cost of string lights actually ranges a good deal – from $15/strand to $70/strand…and up from there. If you’re not very particular about the type of bulb, click here for some inexpensive lights that I’ve used. But if an Edison bulb is the look you’re going for, they are typically a good bit more expense…click here for some of those.
2. Sketch Out Your Design

Once you know the look you’re going for…and can afford, make a rough sketch of how you want your lights to hang. It doesn’t have to be pretty, but try to draw it to scale so that you can use your sketch to accurately measure how long and how many strands you’ll need. But if you don’t trust your drafting skills, simply pull out the good old measuring tape.
And don’t forget to factor in how low you want your swags to hang. I’d suggest at a minimum to factor an additional 10% of length…and the swaggier you want them the higher the % to figure in.
One other thing you’ll want to consider with your design, before you purchase a certain lengths of lights, is to try to have your light strand connections in spots that are as discreet as possible…ideally where they connect to the wall, post or tree. Having a connection in the middle of a swag won’t be the end of the world, but you’ll want to minimize the chances of that as best you can.
 3. Gather Your Supplies
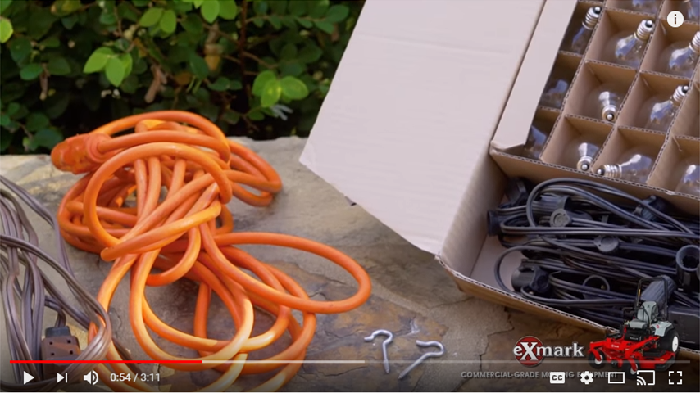
Besides the lights themselves, the only other things you’ll need are:
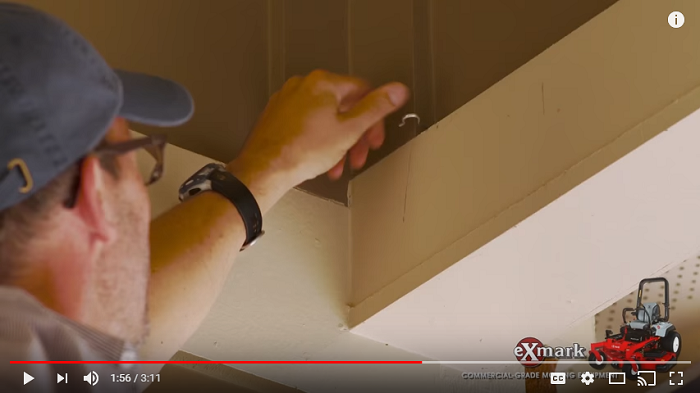
- Hardware for Hanging: For most projects this is just some sort of outdoor grade hook…one for each mounting point (I typically grab a few extra because I inevitably drop one or two in the bushes). But if you are hanging heavier, commercial grade string lights…or if you plan to hang something from your strands…you’ll also want to use a cable guide wire.
- Ladder
- Extension cord
 4. Remove the Bulbs Before Hanging – WORD OF WARNING!!!
After you’ve securely screwed in your hooks, but before you actually hang your lights… make sure to remove all the bulbs from the strands. I learned this the hard way…as it doesn’t take much for the bulbs to break.
Some come with the bulbs already screwed in…while others don’t. And if yours do, take the time to remove them. It’s definitely a pain…but believe you me, it’s not as much of a pain as sweeping up 1,000s of shards of glass!
5. Reach the Outlet
Don’t forget that the first strand needs to reach an outlet…or have an extension cord that will. Personally, I always use an extension cord because I don’t want lights lighting the way to the outlet…rather, I want everyone to look up at my cool lights.
6. Start with Just One Bulb
 Once your strands are up and you’re satisfied with the general look, install one bulb in each strand, and then plug them in to test that everything’s working properly. If something’s not working…now’s the time to fix it. But if all’s good, simply screw in the rest of your bulbs, light ‘em up, kick back and enjoy!
![]()
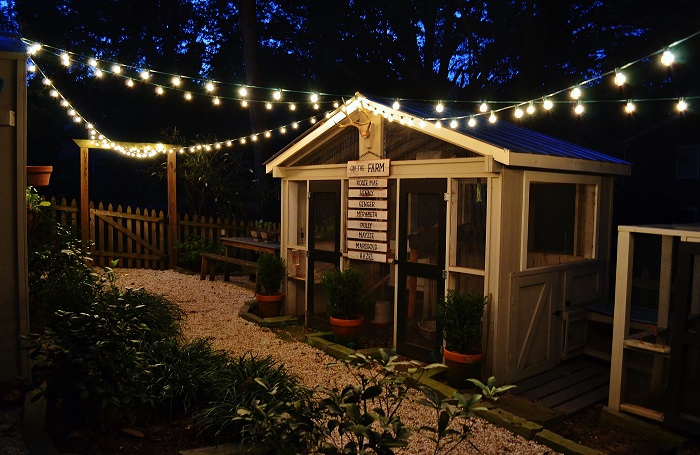
 There you have it…pretty easy, right? So now… enjoy your outdoor spaces even more and for more hours of the day by simply adding a few strands of string lights.
I hope this has been helpful.
And if you’ve missed any of the blogs I’ve done for the other Exmark ‘Done-in-a-Weekend’ project videos, be sure to check them out on RYGblog (the links should be below) or you can find all 6 of the videos in one place at WeAreExmark.com.
 Thanks friends…and I hope you have a great week and weekend.
Take care,

PS: If you want string lights, but the spot you want them in doesn’t have a place to hang them from, check out this post I found on The Home Depot’s blog where they show you how to make a portable pole with a concrete base. I haven’t made any of my own yet, but when I do I’ll do a post on it…and I already know of a few twists I’m going to do with mine. So stay tuned.
You may also enjoy these posts from RYG ...
![Basic How-To’s for Planting Plants [Video for Exmark]](https://redeemyourground.com/wp-content/uploads/2017/03/Redeem-Your-Ground-Exmark6-150x150.png)

![Now’s the Time to Mulch and Here Are Some Options [Video for Exmark]](https://redeemyourground.com/wp-content/uploads/2017/04/RYGblog_Exmark_Types-of-Mulch-2-150x150.png)

If you're not already subscribed to RYG and want to get periodic updates, links to new posts & other ground redeeming info ... just enter your email address below. Easy as that!